Showing posts with label TUTORIAL. Show all posts

Tuesday, August 6, 2013

My Favourite Things - Father's Day Card (Masculine)

Hiya! I have a quick card share today, with a tutorial going live over on The Stamp Spot blog this morning, featuring this card... So, head on over and take a little look see, as to how I created this -
I used products from The Stamp Spot store, including patterned paper from Sn@p, washi tape, and of course the MFT stamps
The card is pretty basic, but, the stand out feature, in my mind at least, is the chalkboard effect... Here is a close up -
Handmade Fathers Day Card - Number 1 Dad
MFT Blog - Stamp and Win #135
Simon Says Stamp - Anything Goes
MFTWSC135

Tuesday, August 28, 2012

Some Odd Girl - Tutorial - Double Slider Card

Hello! I'm here today, with my post that's just gone live over on the Stamp Spot Blog
Ok, so for the Double Slider card, you will need 1 piece of cardstock, cut to 5.5 inches x 11 inches, two pieces of cardstock, or patterned paper, cut to 3.5 inches x 4 inches, double sided tape, scotch tape, a plastic shopping bag (the grocery kind) a ruler, a paper trimmer, and a small piece of ribbon
Ok, so on the piece of cardstock, score lines at - 2.5 inches, 6.5 inches and 10.5 inches.
Then, using your paper trimmer, or scissors, cut out a small notch on either side of the 2.5 inch piece so it looks like the piece below - 
Get your shopping bag, and cut a strip from it, around an inch wide. Wrap it around the 2.5 inch piece, where the notches have come out, tape the ends to each other, and trim so you don't have a whole lot hanging out. Make sure it is able to spin around the cardstock without too much difficulty. 
This next step, I forgot to take a photo of.... so, have a badly edited picture -
Then place the patterned paper you want to pop up at the top, making sure it all lines up. Turn over this piece and put tape at the top of the plastic bag, and put the patterned paper you want to appear at the base, make sure it lines up with the front one, and looks straight (ish) Attach ribbon pull to the top piece of patterned paper (at the back) 
The smallest scored piece of the 11inch long piece gets attached to the inside and it folds up to look like a card. Here is mine... 
The front, which I have decorated with Some Odd Girl - Hey Kaylee, which was stamped on X-Press It blending Paper and coloured using my Spectrum Noir Markers. I also paper pieced her dress, (wooh polka dots!) The sentiment strip is MFT Die-Namic's Sentiment Strips 
 Here is the card all pulled out. How adorable is the little turtle? He comes with the Hey Kaylee! Set!
I coloured him like normal, and then went back over him with the thin point of the Spectrum Noirs and added a whole bunch of dots to give him some added texture. He is sitting happily on some patterned paper that features Leaves. 
Oh, and have an extra shot of Kaylee - 
The patterned paper all came from a paper pad by Authentique, the paper flowers are a mix of kaisercraft and non-name ones. The cute chipboard frame, is a Tiddleybitz piece from a frames set I picked up at the Newcastle Show.
 I hope you enjoyed my tutorial :)
Thanks for dropping by! Don't forget to enter your cards/scrap pages/BTP items into this months challenge spots -

Saturday, July 28, 2012

Some Odd Girls - Spectrum Noir Hair Tutorial

I thought I'd drop in with a quick tutorial on how I colour hair using my Spectrum Noir Markers!
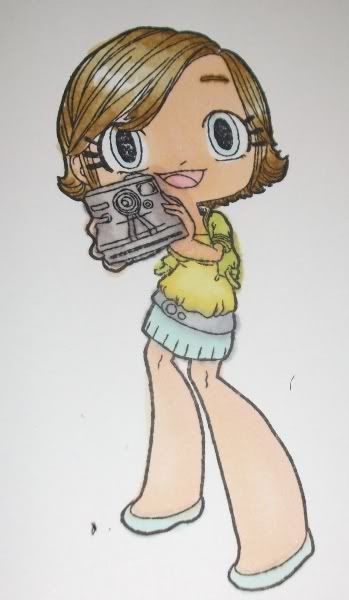
I am using the Photo Kaylee Stamp from Some Odd Girl. I used three colours, GB10, GB8 and EB2....
I started with GB10 and laid it down in the parts that I wanted the darkest.  
Next, I laid down the GB8 over the top of the GB10 and dragged some of the darker colour towards the middle.  
Then came the EB2 which was layered over the other two colours, and dragged towards the empty space. I tend to leave small sections uncoloured, to let the white card stock show through, to add 'shine' to the hair as highlights... 
Here is the finished hair... And, the finished image -
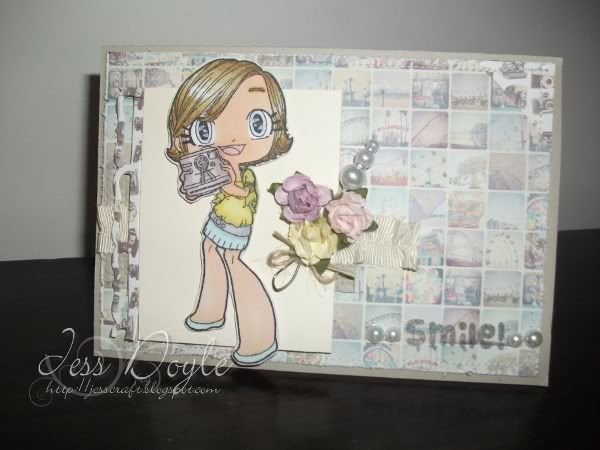
Ok, so I cut her all out and popped her on a card -
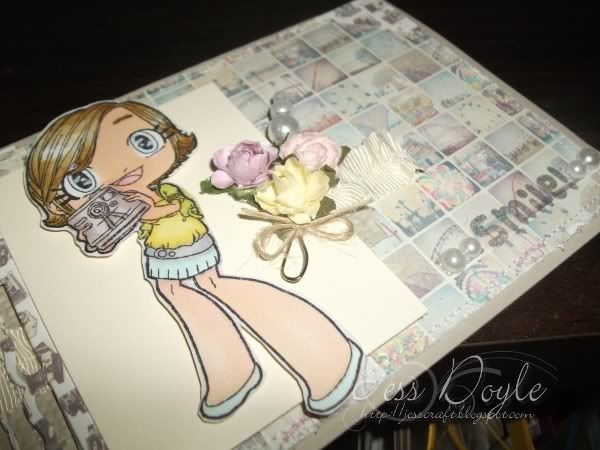
I used patterned papers from Echo Park, a piece of gathered ribbon, and some paper flowers, and a pin with a piece of twine tied in a bow. The main image panel has a border cut using the MFT Die-namics, Open Bracket Die. The sentiment is from the Photo Kaylee stamp set, and has a few pearls surrounding it... :)
Here is a close up -
I am entering this into the De-constructed sketch challenge, number 62. It's a little difficult to tell, but the sketch is in there. I am also entering this into the Simon Says Stamp Anything Goes Challenge
Deconstructed Sketch No. 62
Hope you liked my tutorial :) 

Saturday, April 2, 2011

Stampin' Up! Artistic Etchings and I create Pizza Boxes

Hi all!
I've got a tutorial to share with you this evening. A totally cute pizza gift box. (Don't forget, you can see all my tutorials here)

Supply list:
Cardstock 1 piece cut at 6"x11" 
Designer Series Paper cut at 3.75" x 3.75" and 0.75" x 3.75"
Strong Adhesive (I used Stampin' Up! Sticky Strip)
Scor Tool.
-------------------------------------------------------------------------------------------------------------
Instructions:
1. Score your cardstock at 1" and 5" on the short side.
2. Turn your cardstock long ways and score again at 1", 5", 6" and 10".
3. Cut along the score line at the corners and in the middle. 
4. Fold along all score lines, and adhere tape to the corners being folded in.
5. Adhere edges, and decorate. 
I have used Crumbcake, Early Espresso, Very Vanilla and Peach Parfait to decorate my pizza box. I have also used the designer series paper from the Stampin' Up! Newsprint collection, which has been sponged with Peach Parfait, Crumbcake and Early Espresso.  I am entering this into the Just Add Ink, Just Add a Box or a Bag Challenge.  
This little box only took about 10 minutes to actually construct, the time consuming part for me was decorating... 
Thanks for looking, and as always, Happy Stamping!