Showing posts with label GLITTER. Show all posts

Saturday, December 28, 2019

I’m back!! My favorite things- unicorn dreams

Hi guys!

I know it’s been almost 4 years since I blogged. I haven’t been creating a whole lot while I’ve been gone, but I have done some pretty cool stuff! 

In April 2016, right after I stopped blogging, I got married!! 
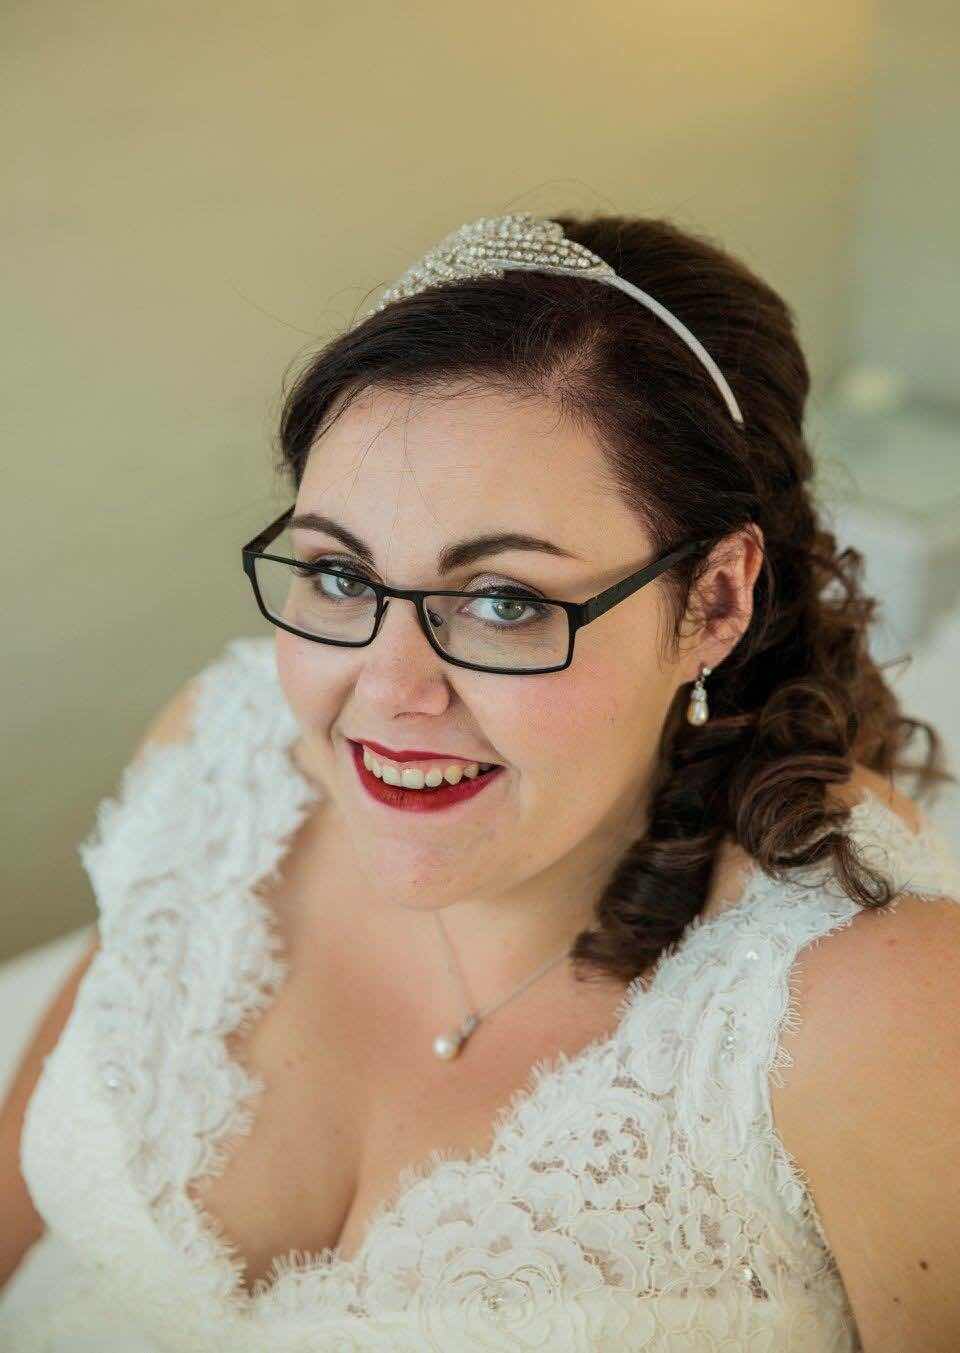

It’s been a bit of a whirlwind since then! I did some markers locally with my cards, I’ve still got my Etsy store and my Facebook page (Jessidee Handmade if you want to find it) and I’ve changed jobs a couple of times. 
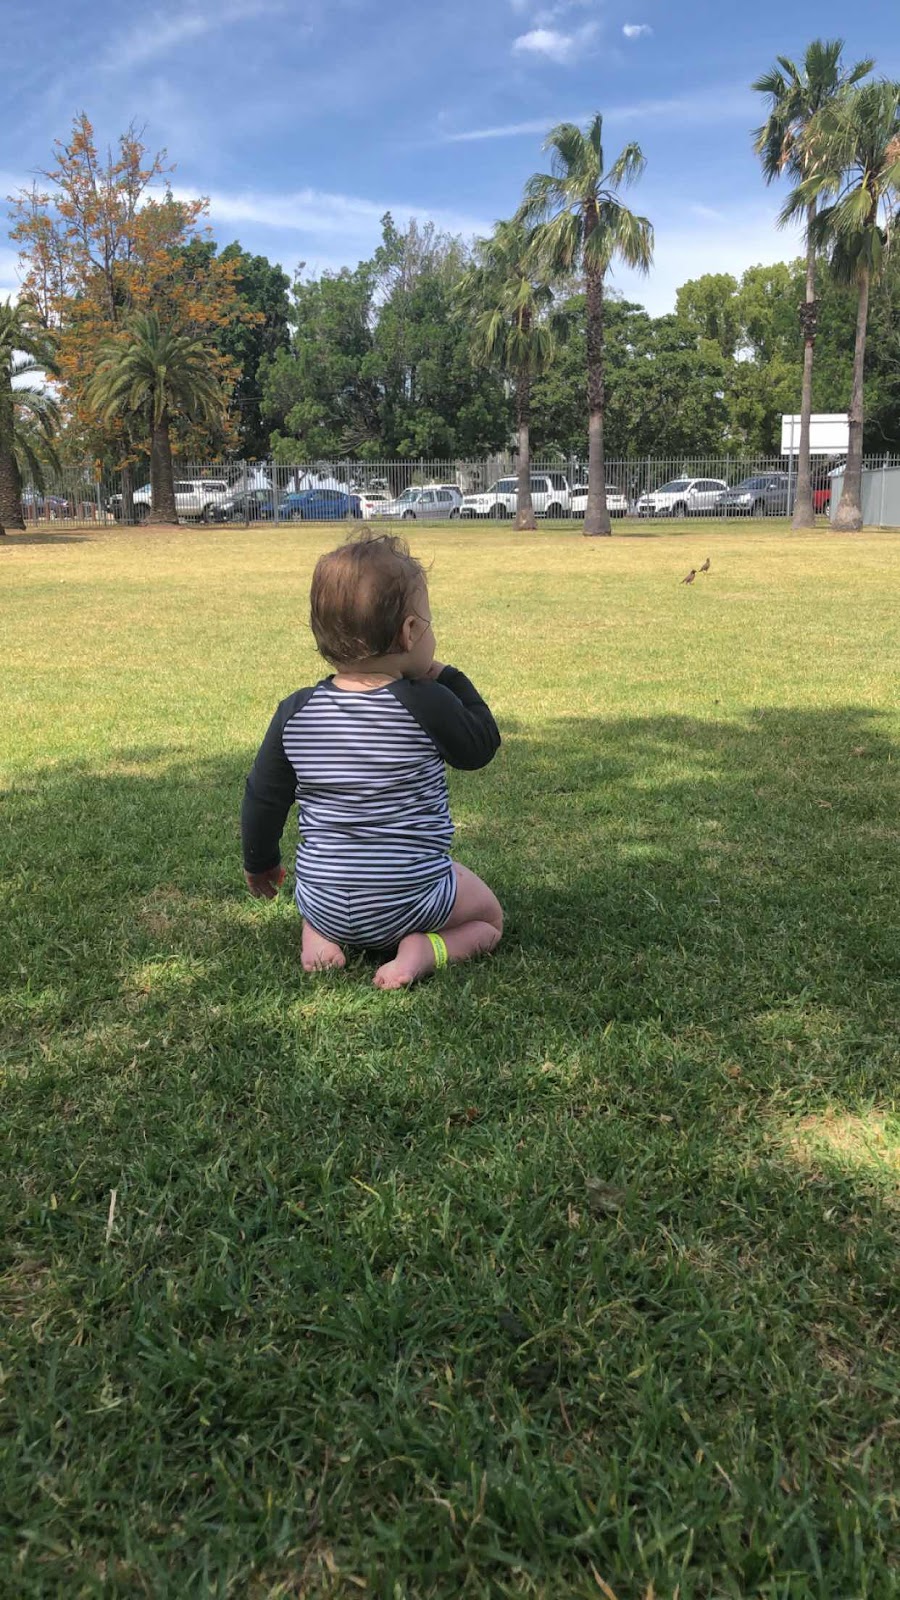
One of the BIGGEST changes happened in October 2018, when my husband and I became parents to a beautiful baby girl. You’ll just have to believe me she’s a stunner because we have made a decision not to share her face on social media or online. I do have a few cute pictures I CAN share with you though!! 

I’ll try to upload one every now and then, so you’re not overwhelmed with baby spam! Her name is Amelia (Amy for short) and she is a sassy little queen who makes everyone around her happy. 

Ok, now on to the card I have to share with you, now I’ve got you all caught up! 

I have a friends little one turning 3 next month, and thought now I’ve got a tidy craft area again, it’s time to create. 

This card is made using My Favorite Things - Unicorn Dream stamps, copics and patterned paper from Echo Park. I’ve used sequins, some cloud stickers and a die cut glitter 3 as embellishments. 


I have used inspiration from MFT Stamps Wednesday Sketch Challenge
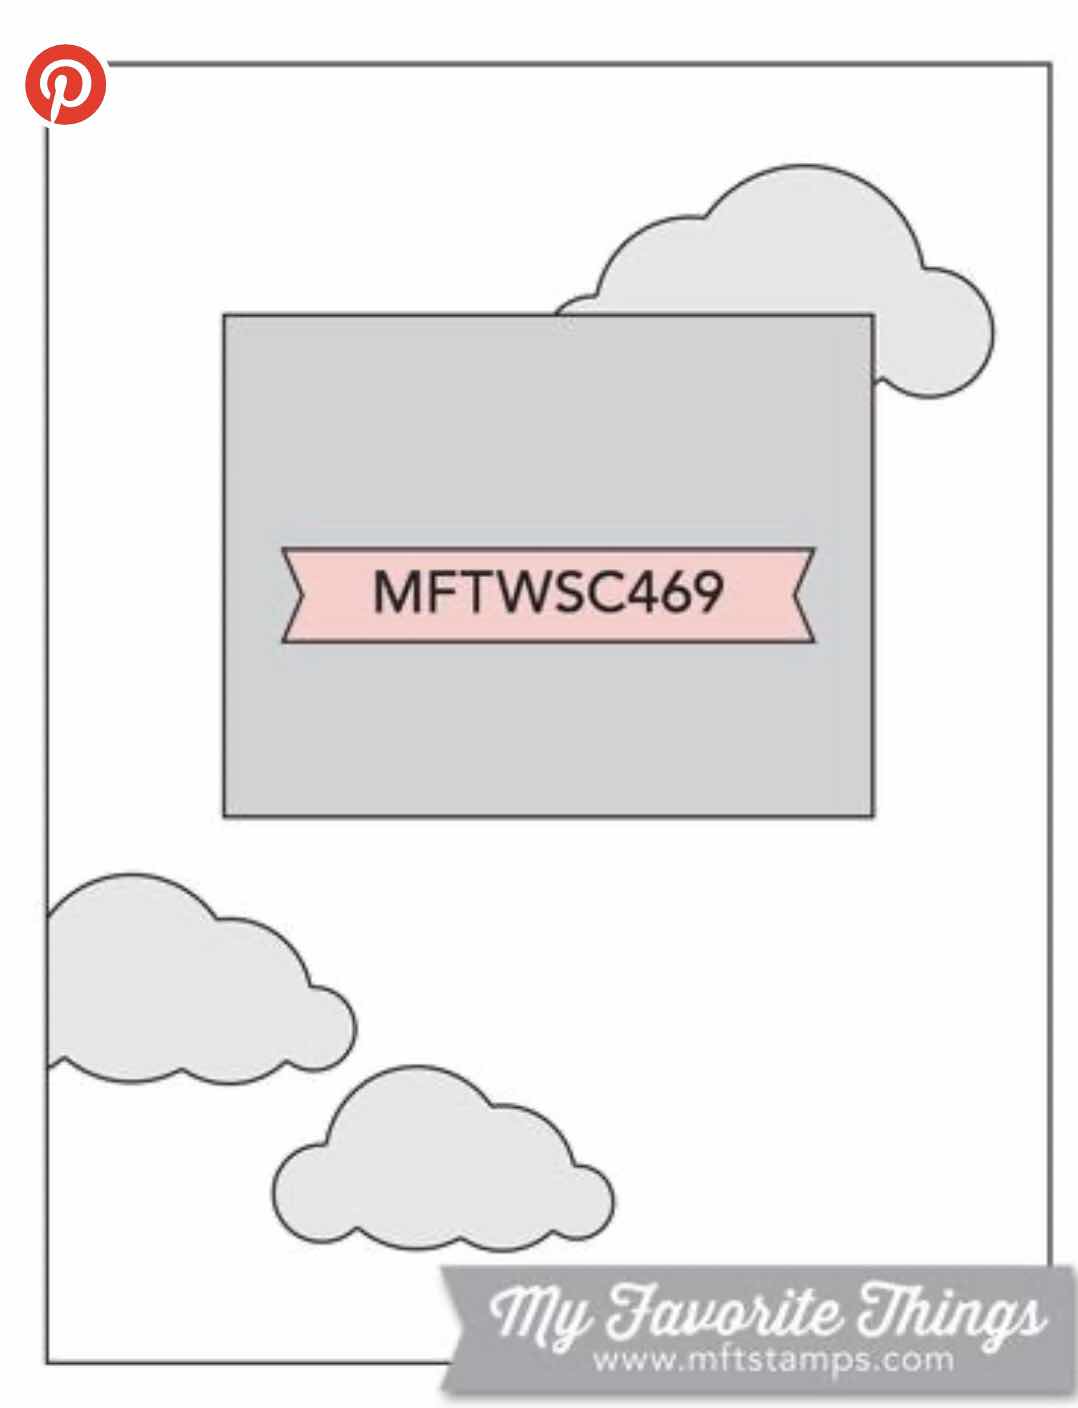
MFT Stamps Wednesday Sketch Challenge
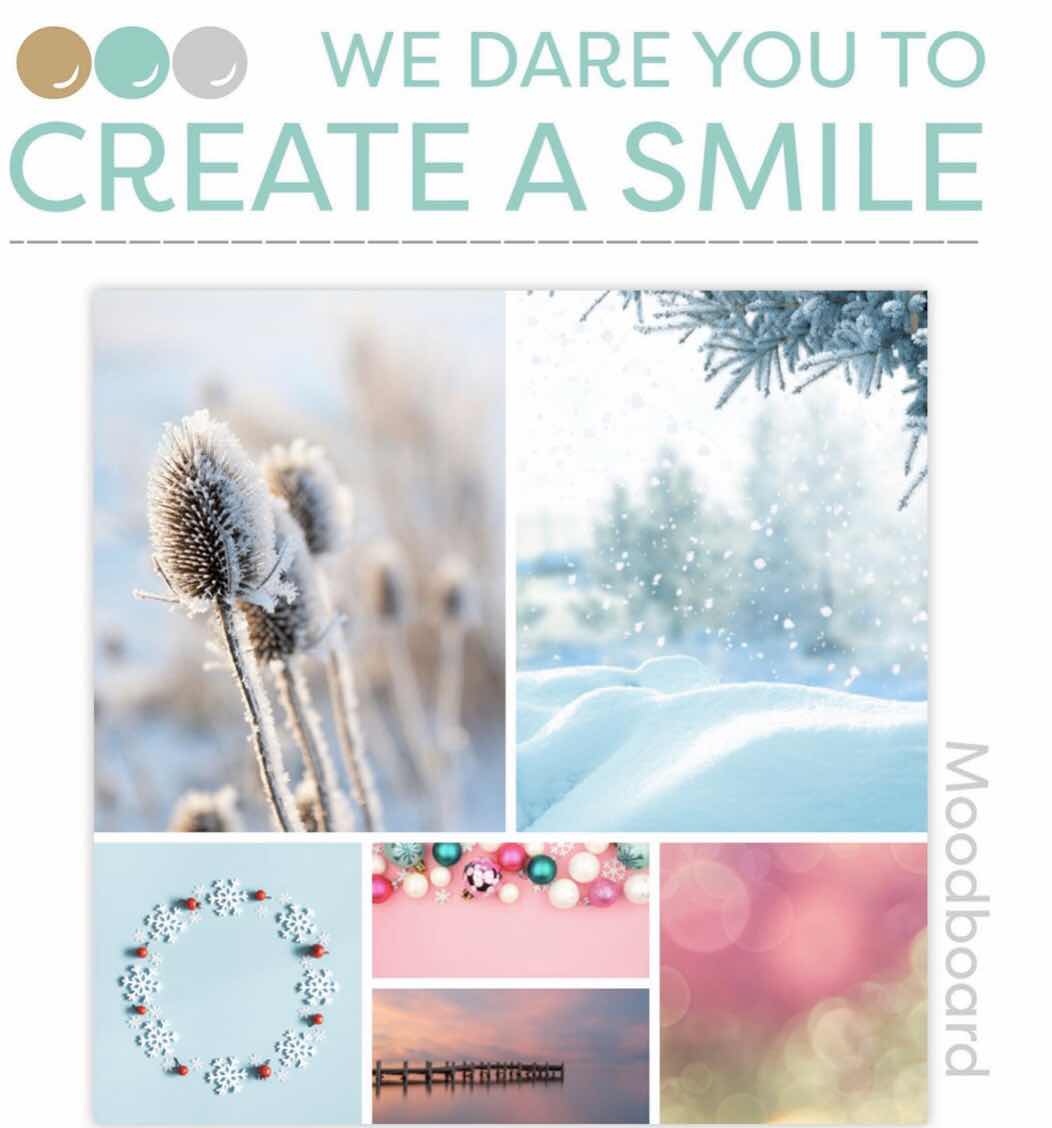
And colour/moodboard inspiration from Create A Smile Blog

I’m so glad to be back in the craft room, and hope to get my blogging back up to date a little more! I hope to see you all soon!

Jess 


Tuesday, March 8, 2016

Some Odd Girl - Mermaid Queen

Hi guys! I'm back again, to share a card I made last night. It is a card, that I currently love, more than most, and I can't see myself parting with it, any time soon! I made it, to showcase on Some Odd Girl's Facebook Group - Paper Piecing Challenge
Here it is -
To start this card, I selected the Mermaid Queen Digital Stamp, from Some Odd Girl, printed her on my copic card stock, and on some copy paper. On the copy paper, once she was printed, I attached some patterned paper, and some vellum, and reprinted her. While that was printing, I started colouring the Mermaid's body, using my copic markers. I let the ink dry a short time on the vellum part of her tail, and while that was drying, coloured her tail in shades of green and blue, to give it a shimmer look on the patterned paper. I colour over a lot of my paper pieced sections, to give more dimension, to make the piece look less "flat". I then fussy cut the tail, and fins and attached them to my coloured mermaid. I did some stippling to give the appearance of sand, and used some stickles on her main tail fin, to give some sparkle!
The papers on this card are a mix of no-name papers and Lawn Fawn, I think her tail is from My Minds Eye (it was a scrap in my scrap draw). I added a sentiment, from another Some Odd Girl stamp set (which appears to be retired now). I added some more sparkle using a trio of silver sequins, and some glitter paper. 
Sweet Stampin' Challenge - Unusual Hair Colour
Paper Craft Crew - Sketch
Addicted to Stamps - Glitter/Bling

Don't forget to pop over to the Some Odd Girl Community, and play along with their paper piecing challenge! 

Wednesday, May 21, 2014

D-Lish Scraps - Scrapbook Page of Bree

Hiya! I have been busy, buried under assignments, but as a reward for getting two thirds of the way through one, I thought I'd come share a scrapbook layout I made last week, before I went to bed. 
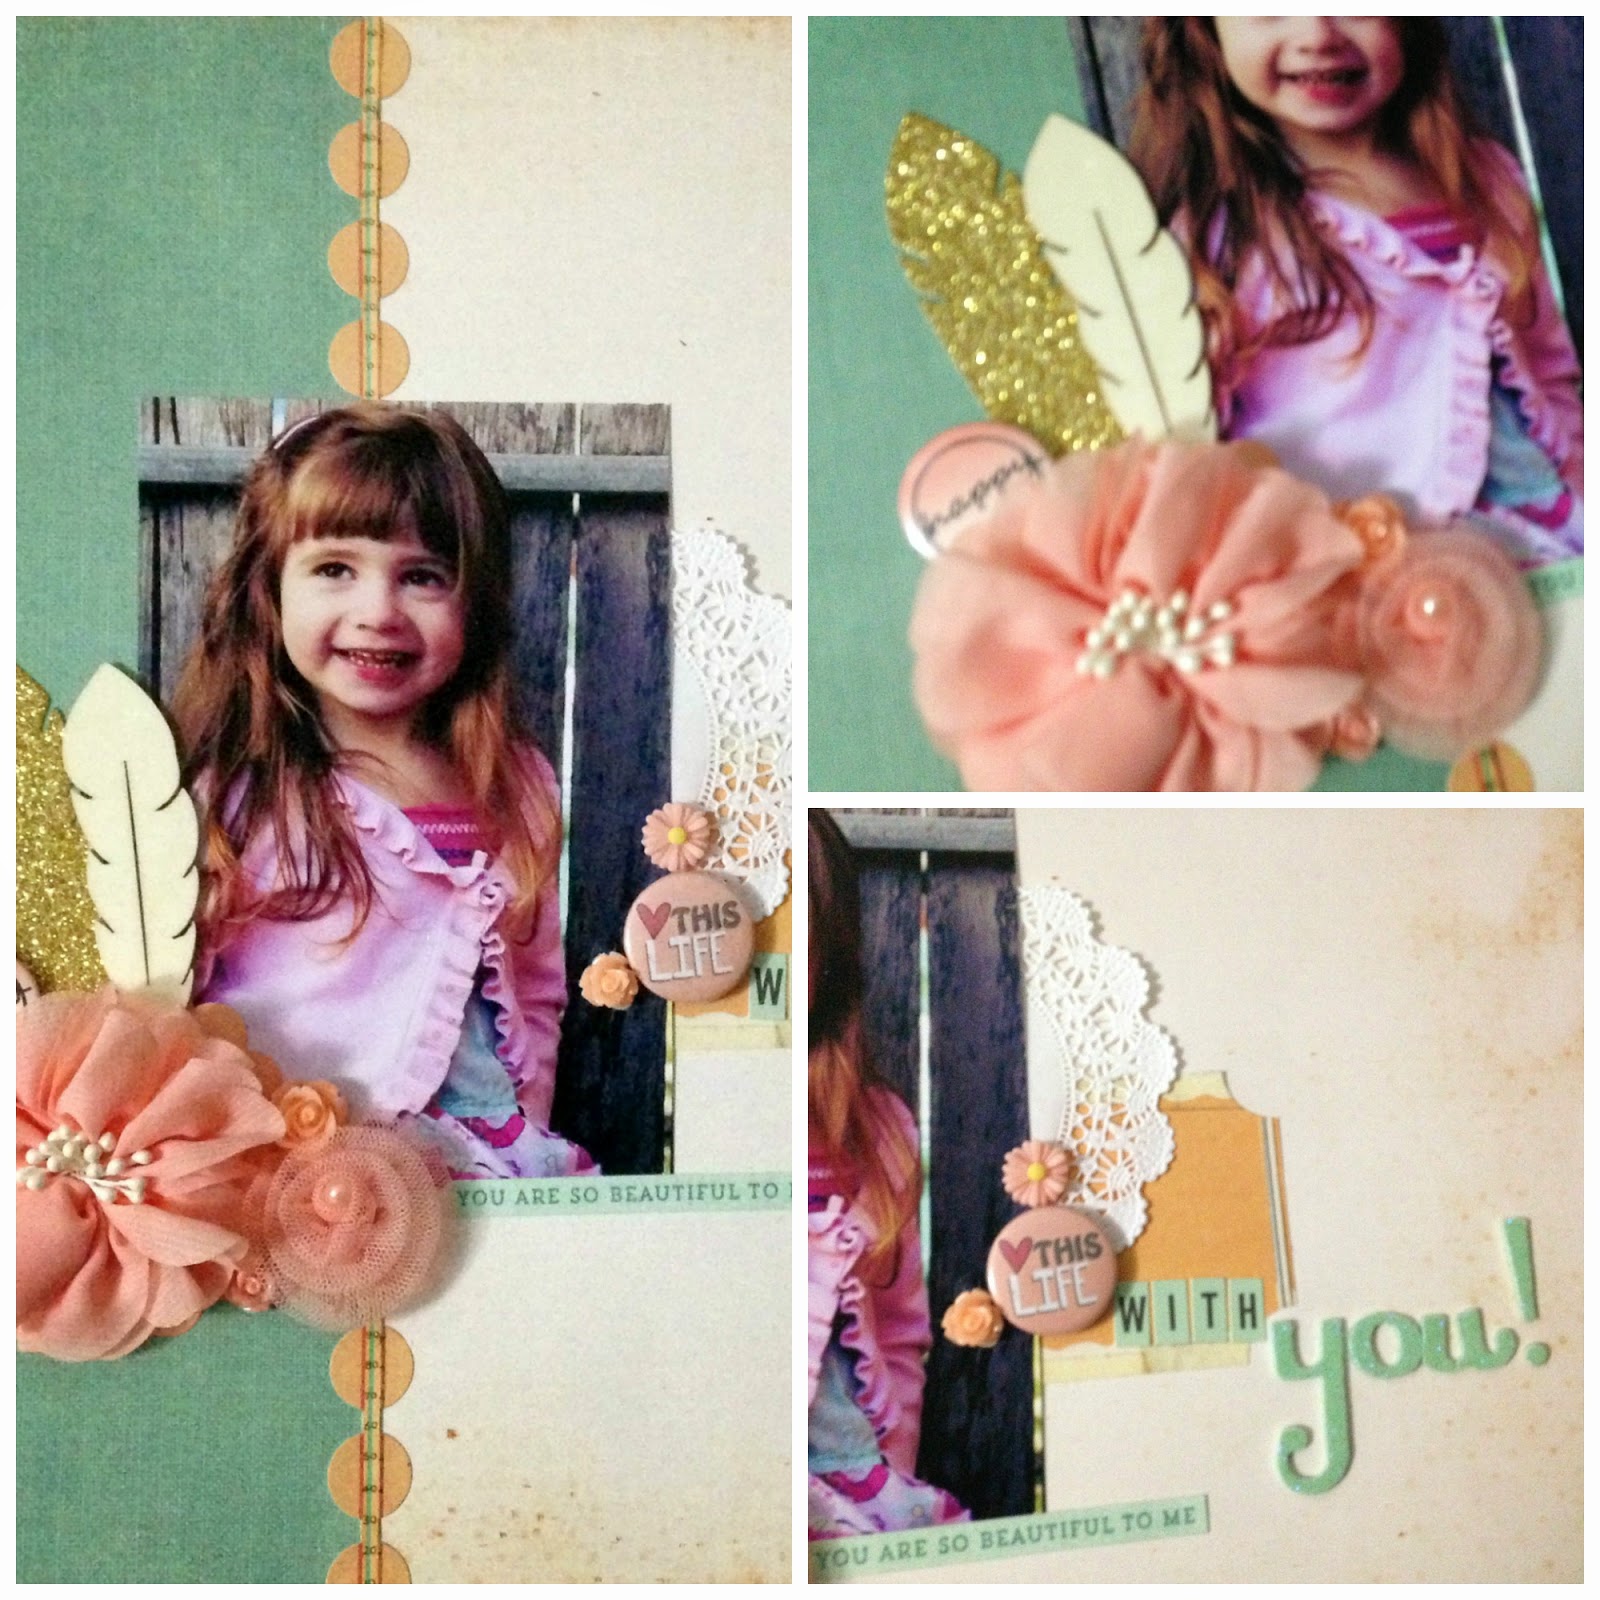
I started out with this gorgeous picture of my little niece, for her scrapbook. I selected patterned paper from Sassfrass Lass and Websters Pages. I used a Sassfrass Lass border sticker to cover the join of the two papers, and added the photo, with another SassLass sticker and a doily. The main embellishments on this page include a large single bloom, a tutu flower, a Prima wood feather, as well as a gold glitter feather (MFT Die-Namic). I've used a couple of flair buttons as well as some resin flowers
Here is the collage and close ups
I used inspiration from this months D-Lish inspiration board, I loved the colours, flowers, feathers, and I've loosely interpreted the sketch.

Wednesday, July 24, 2013

Kraftin' Kimmie - You Know Whoo!! Blank card.

Hi again, I know it's been quiet on here, uni assignments (x2) due this week, so, the only thing my computer has been used for, these past few days is research, and essay writing *sad face* 
Anyway, this card has been on my desk for a few days, waiting to be photographed, and blogged... so, here it is - 
I started out, stamping and colouring this adorable image, from Kraftin' Kimmie "You know Whoo" set, and put double sided tape all over the back, before fussy cutting it out. I then stamped white craft ink (SU!) on to some navy card stock, waited for it to dry, and attached all the bits and pieces (owl, branch etc.) Once I'd finished with the image panel, I built up the card. The blue paper (which is actually closer the the image background than it looks) is from Echo Park, Scoot 6x6 paper pad. The goldy coloured patterned paper is from Amy Tangerine. I added a strip of super sticky double sided tape, and sprinkled glitter on top, making sure it was really well stuck down. I then looked through my brads, and couldn't find anything that matched... So, I versamarked a plain white brad, and then dusted it with heat and stick powder, before covering it in the same glitter as before.... I finished off the card, by doodling borders in silver, and added a bit of stickles to the stars, and swirls of the main image - 
Mojo Monday - Sketch 303
Kraftin' Kimmie - Anything Goes


Sunday, March 31, 2013

Scrapbooking with Kaisercraft - Base Coat

Hi guys!
HAPPY EASTER!
I am spending the day 'relaxing' at home, and part of that was to scrapbook!
I went through a bunch of photos, and found this pair from my nieces 1st birthday party. She's almost 2 now!
I fell in love with the Kaisercraft Base Coat collection, as soon as I saw it! I love the textured backgrounds and how easy it is to "build" a layout from them.... I started off with this textured brick background, and fussy cut the flower section, from a piece of Pink Paislee patterned paper. I then grabbed a Twiddleybitz flourish, and covered it in Heat N Stick Powder, and then a liberal amount of glitter. 
The next step for me was to decide on some embellishments to go below the photos. I chose some lace from Alacraft (this one) and then chose some flowers that have been in my stash for an absolute age! The big pink one is from Prima, and is covered in sparkly pink glitter, and the white one I've had even longer, its a shabby looking rose. It was at this point I also chose the buttons and the last flower for up near the chipboard piece, and attached them all using my hot glue gun.
The banner is from Grace Archival, and is a sticker, it is really thin paper though, so I stuck it on some spare card stock, and popped it next to the flower cluster. 
This last picture shows half my title - and the sparkly & symbol. I used my label maker, as well as some dies to create the title "Miss B & Aunty Jess"
I am entering this into two challenges, the first is the sketch from Stuck?!, which I took inspiration from, and changed it up a little bit... I tend to do that a lot with sketches, hehe
I also took inspiration from Polly!'s Easter weekend Sparkle Challenge!

Thursday, September 27, 2012

Surfer Anya - Chill Out Card

Hi guys! I'm back again to share a card I made using the other red haired image I've had sitting on my desk for well over a week... Here it is - 
This little chicky (Surfer Anya) was coloured using my Spectrum Noir Markers on X-Press It Blender cardstock. I then fussy cut her out. The patterned papers on this card are from My Minds Eye and Echo Park, with a touch of bling glitter card stock added and some labels. I used my Open Bracket Border Die from MFT to cut out the border below the pink. I added a touch of stitching and some faux stitching as well. I am entering this into 3 challenges, the first being the Anyone For Anya? At the Movies Challenge, I was inspired by the movie Blue Crush, next up on the challenge list is the sketch from the Splitcoast Stampers TGF forum and finally, the Simon Says Stamp Anything Goes Challenge
Thanks for dropping around :)

Tuesday, July 24, 2012

Kraftin' Kimmie Tinkerbell

Hi guys! I have a card to share, that I made last night... I have a secret as to what gets my craft mojo back... I just make a scrapbook page, and then I go back to cards, and everything just falls into place.... Here is the card I made -
Meet Tinkerbell, I was lucky enough to win this stamp from the Kraftin' Kimmie Blog, from one of their challenges... It arrived yesterday, so I knew I had to get it out and play! I stamped her on Blending card, on Vellum and on some Kaisercraft patterned paper. I paper pieced her outfit, and her wings, and coloured the rest of her up with my Spectrum Noir Markers and fussy cut her out. I assembled the patterned papers (all from my scrap drawer, I think two are Kaisercraft and the aqua one is Crate Paper, which I stamped with the En Francais stamp and White ink)  I layered them all up on white card stock, and stitched around them using a zig zag stitch on my sewing machine. I then layered them all on to some light pink card for the base. The main image circle was cut out using my Big Shot and nesting circles and the glittered scallop circle was cut the same way. I tied a white satin ribbon bow, and attached it using my hot glue gun... I also added a cluster of paper flowers and a hat pin, which I have bent back up on itself so it's not poking off of the card. I added some mint rhinestones in her hair clip and off of the dangly part of her belt... 
I am entering this into three challenges, the first is the sketch for Mojo Monday, next up is to use Stitching for Kraftin' Kimmie and I used the colours from The Playdate Cafe challenge. 
KKStamps Store!
Thanks for popping by!

Sunday, July 22, 2012

Scrapbooking In Pink and White and D-Lish Scraps

Hi guys! I scrapbooked today! (I'm shocked too!) Here is the page, I apologise for the terrible photo!
This is a white piece of card stock, layered up with some patterned paper (non-branded) and some stitching down the sided... It's hard to tell, but it's there.... I then put some Washi Tape along the edges of the patterned paper and tore the edge. I popped a cluster of embellishments below the photo - 
In here, there is a Heirloom Flower, a Hat Pin, some paper roses and a button, which is threaded with some twine. The title, "It's a girl thing" is embossed in white embossing powder and Girl has been glittered with heat and set powder, and lots of silver glitter. The second embellishment cluster is here -
I have looped some light pink twine and glued it down with more buttons and some silver and pink rhinestones. 
I used inspiration from White With 1 - Polka Dots and Tape and Daring you to Scrap - Tape and Twine
Thanks for dropping by :) 

Monday, May 21, 2012

Magnolia circle friendship card

Hi again! I'm back with this weeks Feeling Sketchy card, we're well on our way to reaching 200 likers (and a giveaway) on our Facebook Page so pop on over and keep up to date with what the Sketchettes are doing!
Here is this weeks sketch, which once again I stressed over, but as soon as I sat down to create, I loved!
Circle cards aren't something I usually make, because I don't have any envelopes to fit them :P Silly excuse really! Here is my card - 
I cut out a scallop circle out of white card and a regular circle from patterned paper (retired) from My Minds Eye, I think it was Quite Contrary range, although, I could be wrong.... I then set to colouring this Magnolia image with my Stampin' Write Markers and blender pen. She was actually really easy to colour! I tried a different colour combination for her hair too... Usually a blonde is So Saffron, Daffodil Delight and More Mustard, but, I wanted a softer, lighter blonde, so switched out the Mustard with Crumbcake. I love how her hair came out, as it either makes or breaks an image I've found! So, once she was all coloured up, I fussy cut her out, and focused on the sentiment circle, which is a Spellbinders Labels 10 cut out of white, sponged with Crumbcake. I went over Magnolias wings and the label with some tombow craft glue, and then while it was still wet, sprinkled a bunch of glitter over the top adding just a touch of sparkle to the card. 
We'd love to see you over at the Feeling Sketchy blog, so why not drop round and play? 

Stamps used in Scrapbooking

Hi! I'm back again quickly to share a scrapbooking page I made up this evening -
This is a Bazzill card stock base, layered up with some bright pink patterned paper from Echo Park which I felt matched really well with the pictures of my niece in her fairy outfit for her cake smash. Because there were so many photos from the day, I got some printed in collage form on 4x6 paper, so I have a bunch of itty bitty photos which I thought would look fab behind this chipboard film strip, luckily they fitted perfectly! I coated the chipboard in glue, and a truck load of silver glitter (and by chipboard I mean me, the desk, the paper....etc) Absolutely everything is now covered in glitter! I glued it onto the page with a Kaisercraft transparency behind it as well as a doily cut using the Big Shot and a Cheery Lynn Die (French Doily.) I mounted the main photo on to some brown card stock and nestled it on top of the film strip. My cluster of embellishments (below) 
Includes a Stick Pin and Red Crochet Flower a pendant with owls on it, a button and a stamp from Ink-a-dink-a-do with a stamped clipboard top from Stampendous. The main title, "Loved this Day" is from a sampler pack I won from the Craft-a-Lot blog and is from Unity Stamp Co. I am entering this into two challenges the first is the Craft-a-Lot Bling challenge, next up is the Sketch challenge from A2Z Scraplets which I have edited quite a bit to fit my photos!
Thanks for popping by!

Friday, January 27, 2012

Some Odd Girl Digital Stamps and Stampin' Write Markers create a Missing You Card

Hi guys, I'm back with a card! This one features a really cute Digital Stamp I downloaded this afternoon (instant gratification!)
Photobucket
I started by printing this little chicky onto watercolour paper, and then coloured her using my Stampin' Write Markers, and a Blender pen. I've used minimal colours in the actual image, Sahara Sand, Soft Suede, Tempting Turquoise, Blossom Blush, and Real Red. I then sparkled up her shoes, cause every girl wants a pair of Dorothy shoes
Anyway, on with the rest of the card.... I used a Real Red card base, and layered it with Whisper White and a triangle of Tempting Turquoise patterned paper (DSP Brights stack), tied some white grosgrain ribbon around the top, with a lovely bow. The sentiment is made up of Nesting Circle and Nesting Scallop Circle dies and the words made with stickers and the Stampin' Up! Timeless Type Die. 
Ok, so I am entering this into three challenges, the first is the Some Odd Girl colour challenge, which I LOVE these colours together right now! The second is the Friday Mashup! which is something new, or the Sketch, and I mashed it up this week, with new digital stamps :) and the sketch.... And finally, the Simon Says Stamp Anything Goes Challenge :)
Simon Says Stamp
Thanks for dropping by!

Tuesday, December 27, 2011

Stampin' Up! Friends never Fade and I create a Friendship card

Hi guys! I hope you all had a fabulous Christmas period! I had such a great Christmas, it was lovely to spend some time with my family. I have a card to share with you today.
I used a Basic Black card base, which I layered with some Basic Gray, which was stamped using the bold 'waratah' flower in Black. Once I was happy with that I wrapped some non-Stampin' Up! Ribbon around it and tied a bow. I then stamped the sentiment image from Friends never Fade in Pool Party and cut it out, I layered it on to a piece of Glitter Paper and then some Basic Black. I rounded the corners before finishing this card. 
I used inspiration from the Clean & Simple Sketch for this one, although I altered it slightly to fit my images.  
I have some good news to share too! I entered the ICSketches Design Team call they had earlier in the month, and I was lucky enough to be selected for a four month term over there! *Happy Dance* So, keep your eyes open for my first post from them in January!
So, until next time, 
Happy Stamping!

Monday, December 19, 2011

Stampin' Up! Timeless Type in the Big Shot and I create a 21st Birthday Card

Hi Guys! I have another card to share with you today, this one will be heading out to a special friend who is celebrating her 21st birthday soon!
I used Stampin' Up!'s current in colour Wild Wisteria as a card base (I find purple so difficult to work with!) and layered it with some American Crafts patterned paper, then I got out my Stampin' Write Markers and coloured this gorgeous stamp from The Greeting Farm. I fussy cut her out, and stuck her onto some Whisper White which was layered on to Wisteria Wonder. I wrapped some wide grosgrain ribbon around the card and the popped a scallop circle and regular circle on. I got a piece of scrap white card, covered it in VersaMark, while it was still wet, I poured over a mixture (that I'd pre-prepared) of silver embossing powder and glitter, and heat set it, using my heat gun... With the embossed and glittery paper, I popped it through the Big Shot using the Timeless Type sizzlet and then glued them onto the circles. I added a few little flowers from my stash. 
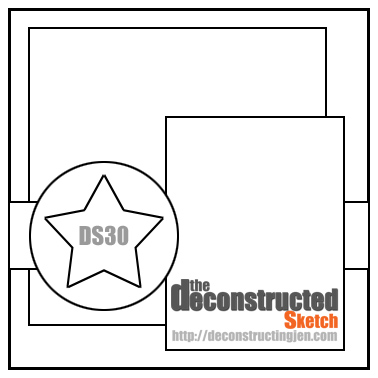
I used inspiration from the Deconstructed Sketch, and also the Just Add Ink, Just Add Sparkle challenge
Thanks as always for popping by!
Happy Stamping!

Sunday, November 20, 2011

Stampin' Up! Welcome Christmas and I make a quick and easy Christmas Card

Hi guys! This was the second card I made last night
This is one of my newest acquisitions from Stampin' Up! It's a beautiful Christmas set, that includes a few silhouettes, two big sentiments, and this really pretty wreath. I used a piece of Very Vanilla card stock, stamped the wreath in Old Olive, and then with some red stickles, popped some berries on top. The sentiment is one from Gelatins and I have stamped it on some Vellum in Real Red and attached it to my card base using some Stampin' Up! Glitter Brads. I think this fits my criteria for a Christmas card, easy to make multiples :)

I am entering this into the challenge over at Clean & Simple as I followed their sketch. :)
Thanks for dropping by!

Wednesday, September 21, 2011

Stampin' Up! Up, Up, & Away (new stamp set) and I create a Birthday card

Hi guys! I have been eagerly stalking my postman, I knew he was going to arrive today with a new stamp set for me to play with, and sure enough he showed up with a Stampin' Up! box under his arm! I got the new stamp set Up, Up, & Away, from the 2011-2012 Ideas Book and Catalogue, so of course I had to go ink it up straight away :-D
Ok, so the main image panel has been sitting on my desk for a few days since I was playing with my brayer, and I'm so happy that this worked as well as I wanted it too... I have found the trick is to use Glossy Cardstock, as opposed to flat Whisper White... So, I brayered the background using Bashful Blue, Baja Breeze and a touch of Marina Mist. The masked section I sponged with a little bit of Bashful Blue to create snow peaks... Then with the new stamps in hand, I stamped the hot air balloons and pennant in Staz On. The sentiment is one of my favourites from the retired Basic Phrases. The card base is Baja Breeze with a piece of Whisper White that has some non Stampin' Up! Glitter stuck on it with Sticky Strip. I have then pop dotted the whole main image using some Dimensionals.
I am entering this into the There She Goes  Birthday Pizzazz Challenge and the Less is More anything goes challenge and Wee Memories no patterned paper challenge :)

Thanks for dropping by!
Happy Stamping!

Monday, April 25, 2011

Stampin' Up! Easter Blooms and I create a Mothers Day Card

Last night, before bed, I was itching to make one last card.... So, I headed in with the intention of making a Mothers Day Card for my mum
My mum loves all things Japanese, including the cherry blossoms (sakura 桜).  So, I used the retired Stampin' Up! Set, Easter Blooms with my Stampin' Write Markers (in Rose Red and Chocolate Chip). I coloured directly on to the stamp, and then stamped on to the base cardstock, then without re-inking, I stamped it again a below, to give the impression that there were branches behind the first one.  
I then put a little bit of glue on some of the flowers, and a little on the main branch, I then sprinkled some super fine silver glitter on top. I don't know that you can see that in the picture above.... I then got out my Well Scripted stamp set (one of my favourites) which is also retired, and stamped Love You Much in Chocolate Chip ink in the bottom right hand corner to finish off this card. 
I am entering this card into the Less is More challenge for week 12's Off-Centre recipe. I am really happy that I am improving on my one layer cards, and I happily made this a one layer card without much thought... 
I am also entering this into the Hand Stamped Sentiments, Mothers Day challenge
Until next time, 
Happy Stamping!